Refreshing a 1996 Nissan 300zx Twin Turbo
Engine removal and other stuff | Engine disassembly
This project began with just the goal of replacing head gaskets, valve cover gaskets and the rear main seal on the engine,
which requires the engine to be removed from the car.
But once the engine was removed from the car, I decided to tackle lots of other things as well...
(Clickable images open in another window in full size)
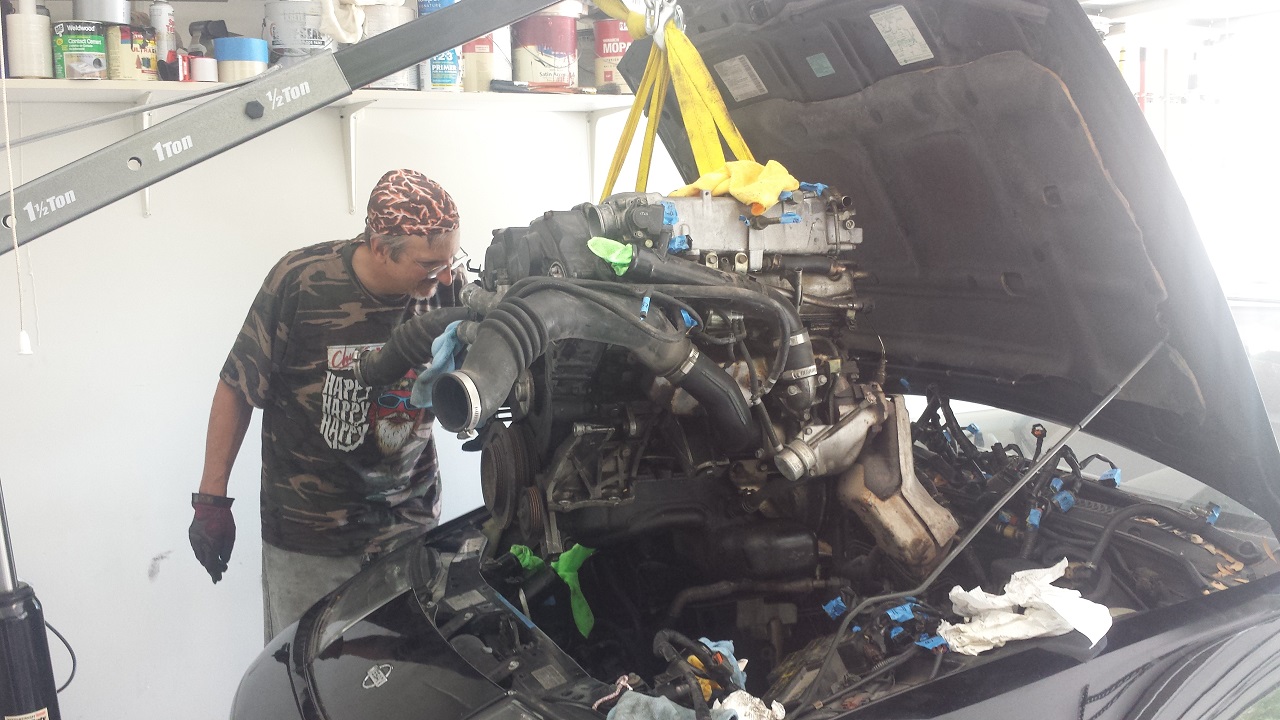
The first step was removing the engine. My friend John helped me with this.
I don't remember exactly how many hours it took from start to finish, but we took our time and labeled everything as we disconnected and removed items.
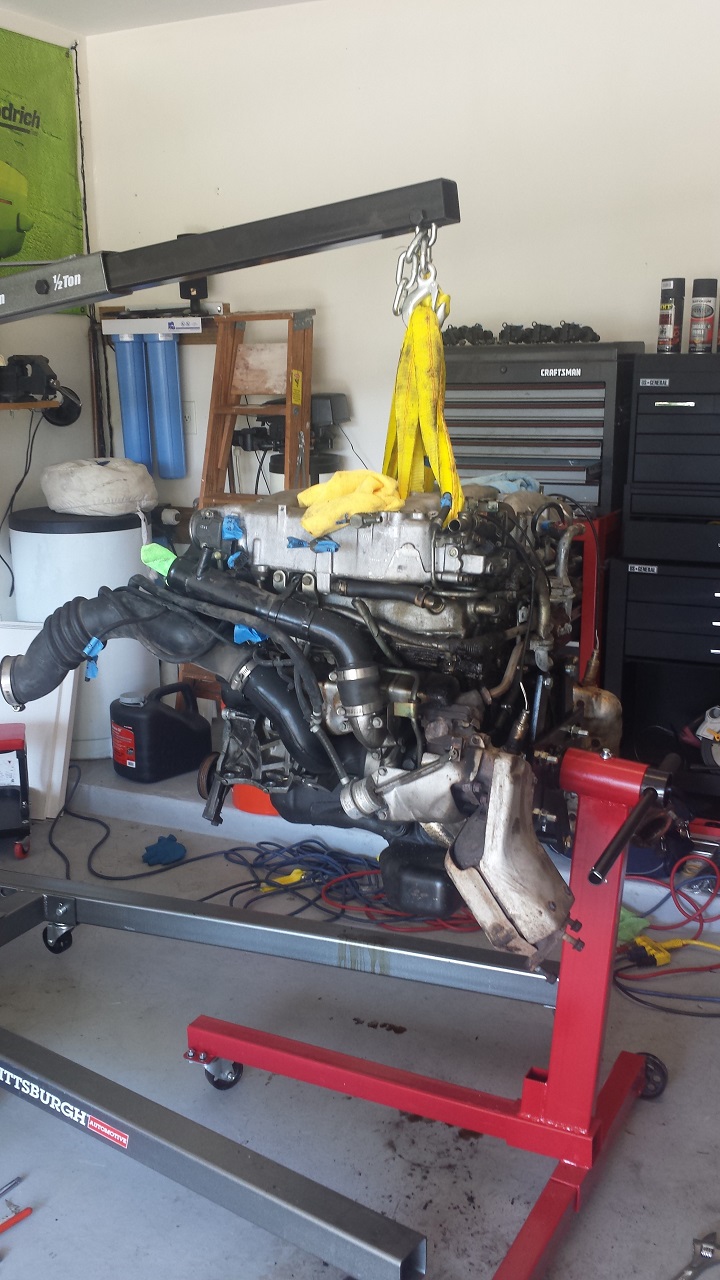
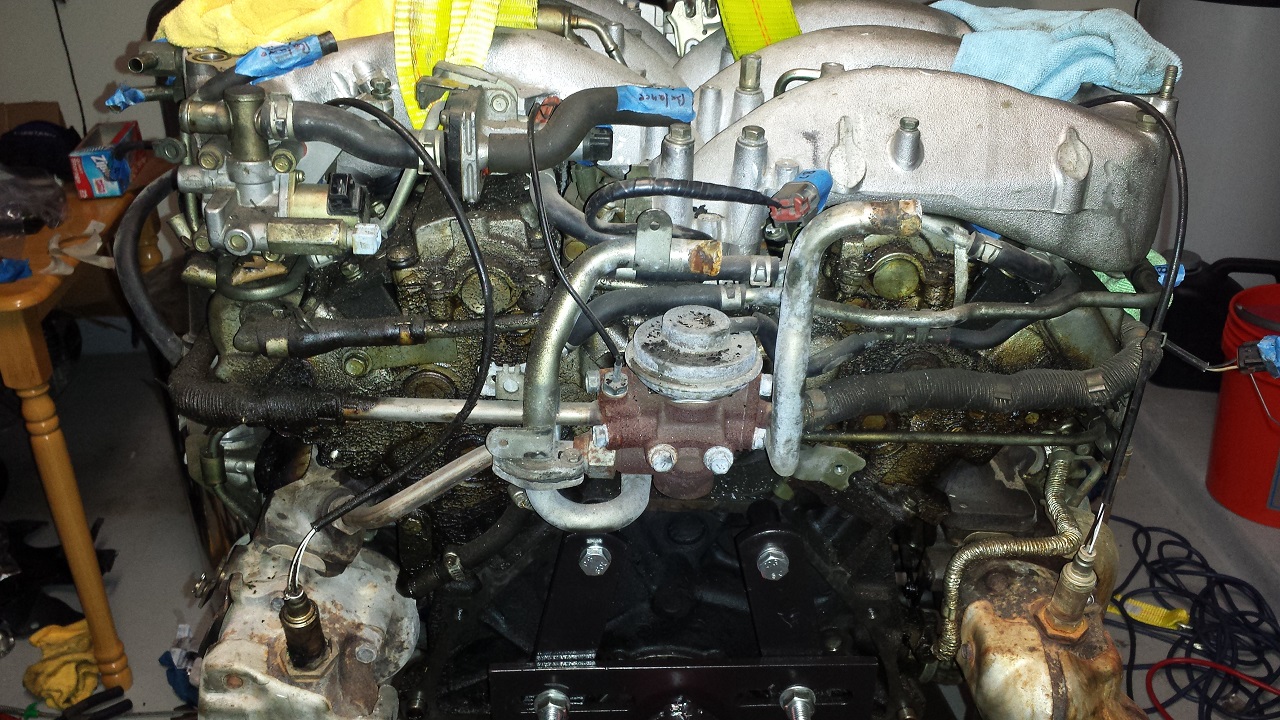
Here is the engine on the stand:
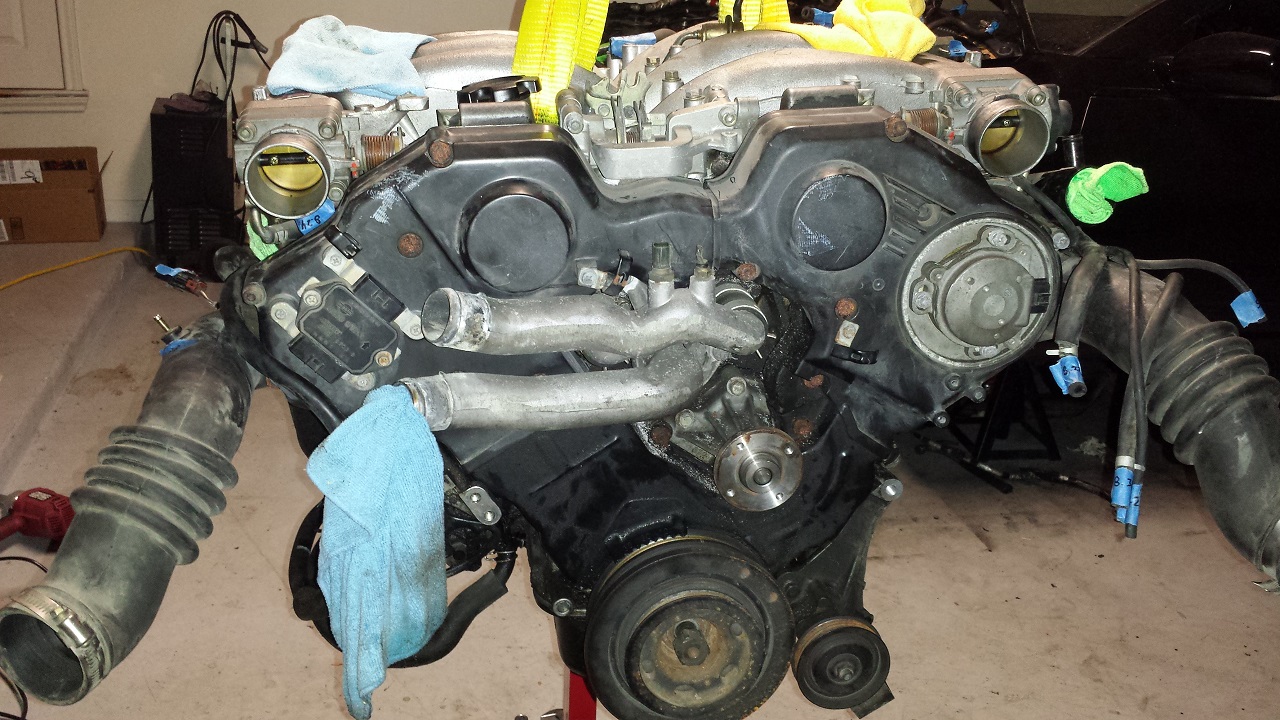
This is the front of the engine:
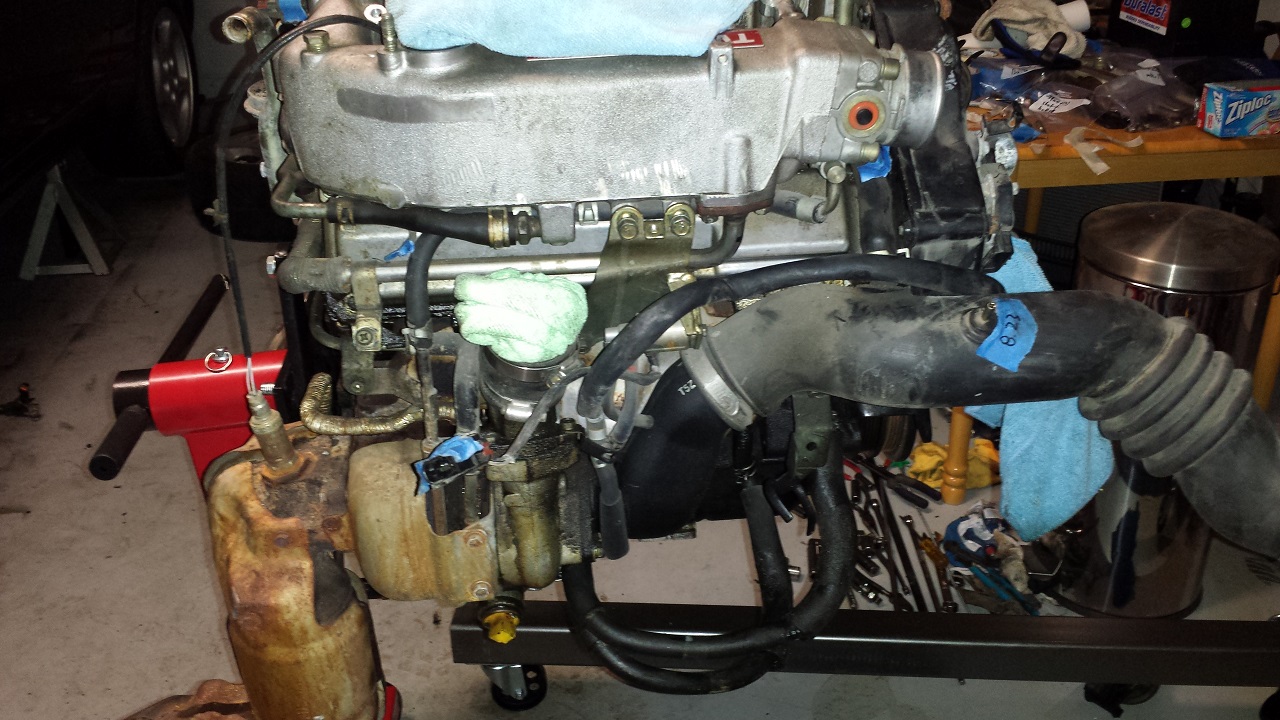
This is the left side of the engine:

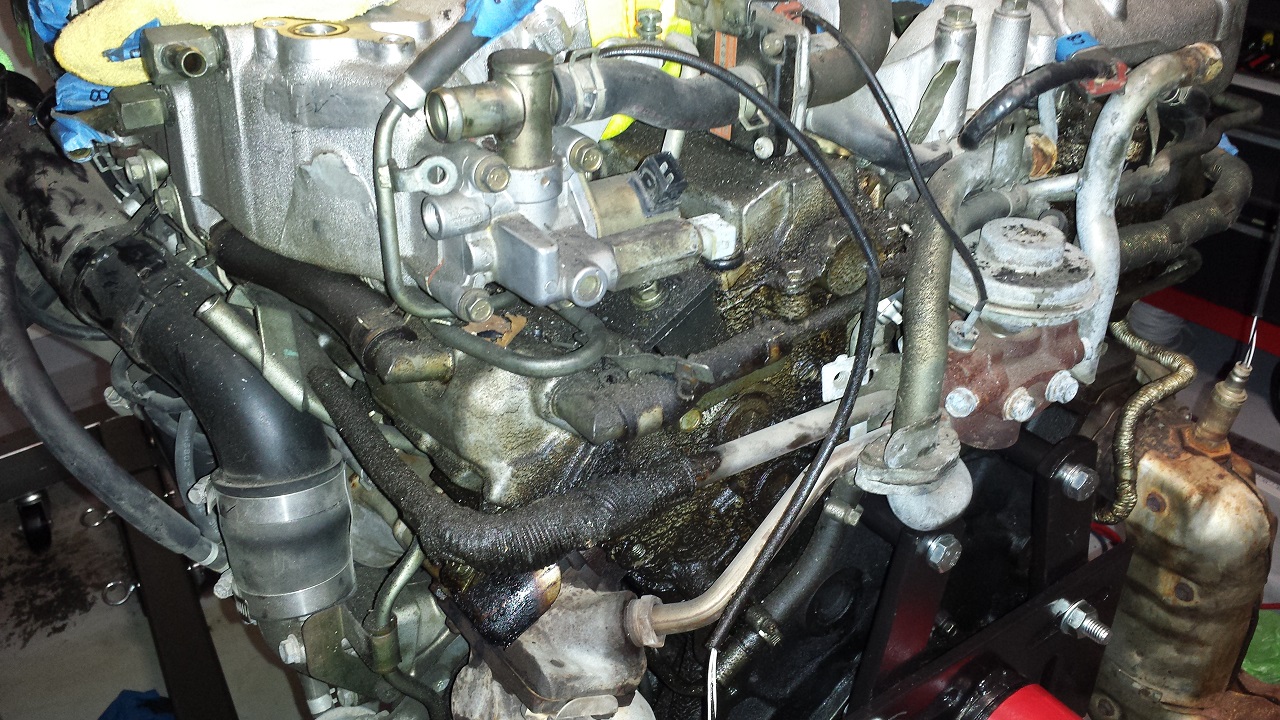
This is the back of the engine:
This is the right side of the engine:
This is a close-up of the back corner of the engine where there is evidence of heat and gasket failure:
The starter motor's front cover was broken. I have no idea how long it had been like that.

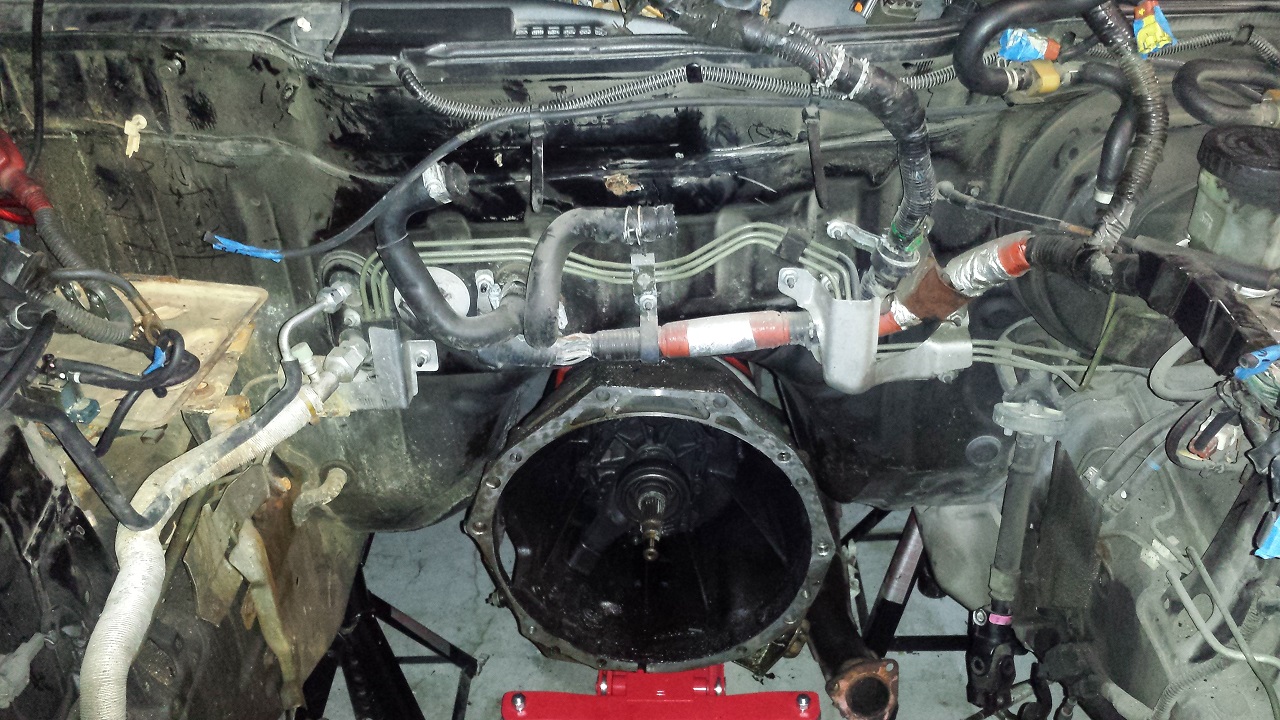
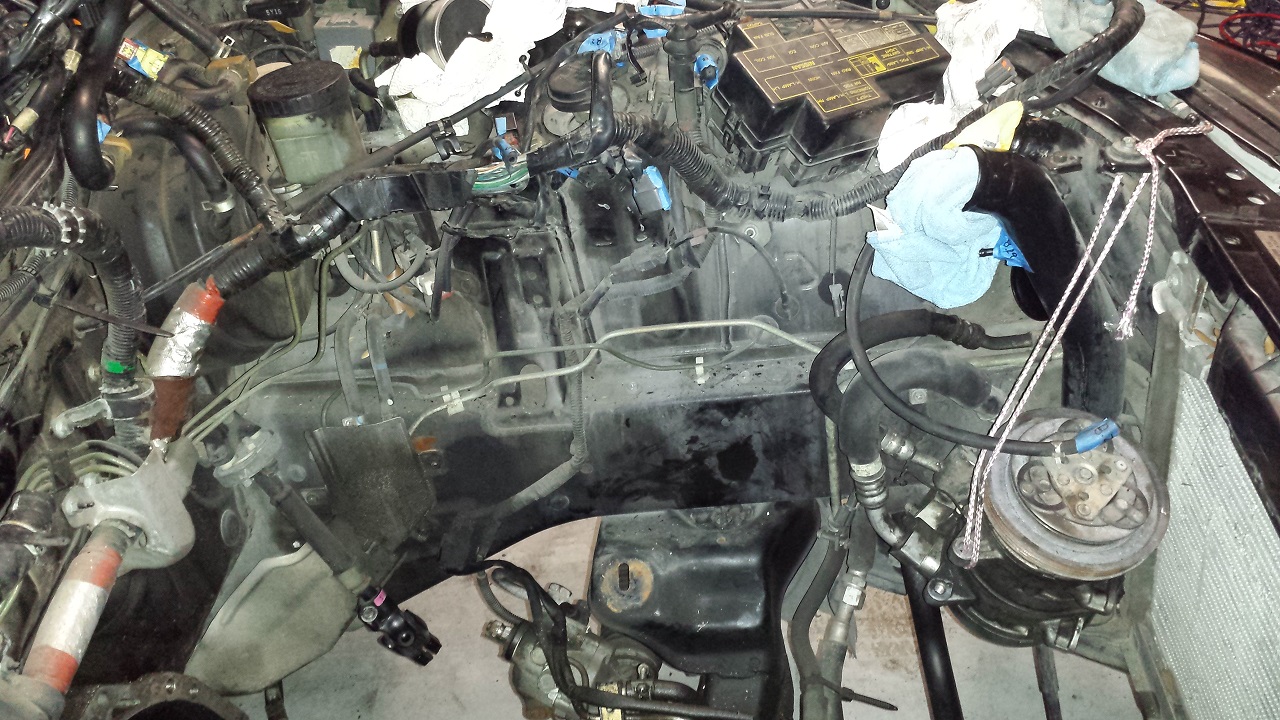
Here are a couple pictures to show how dirty the engine bay was after removing the engine:
The next thing I did after removing the engine and transmission from the car was to perform some maintenance on the transmission.
I cleaned it up quite a bit and replaced the following items:
- throw out bearing, sleeve and spring
- chromoly pivot ball
- front seal
- rear seal
- fork boot
- striking rod boot
- front cover gasket
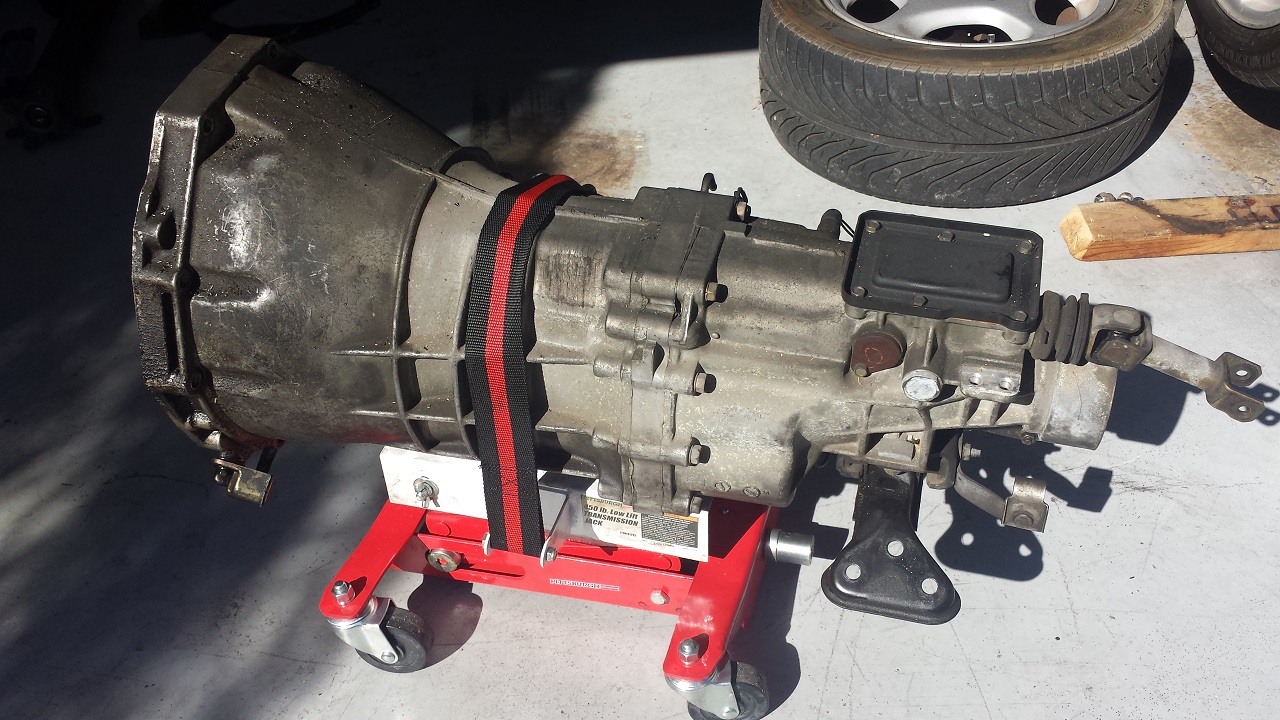
This is the transmission as it came out of the car:
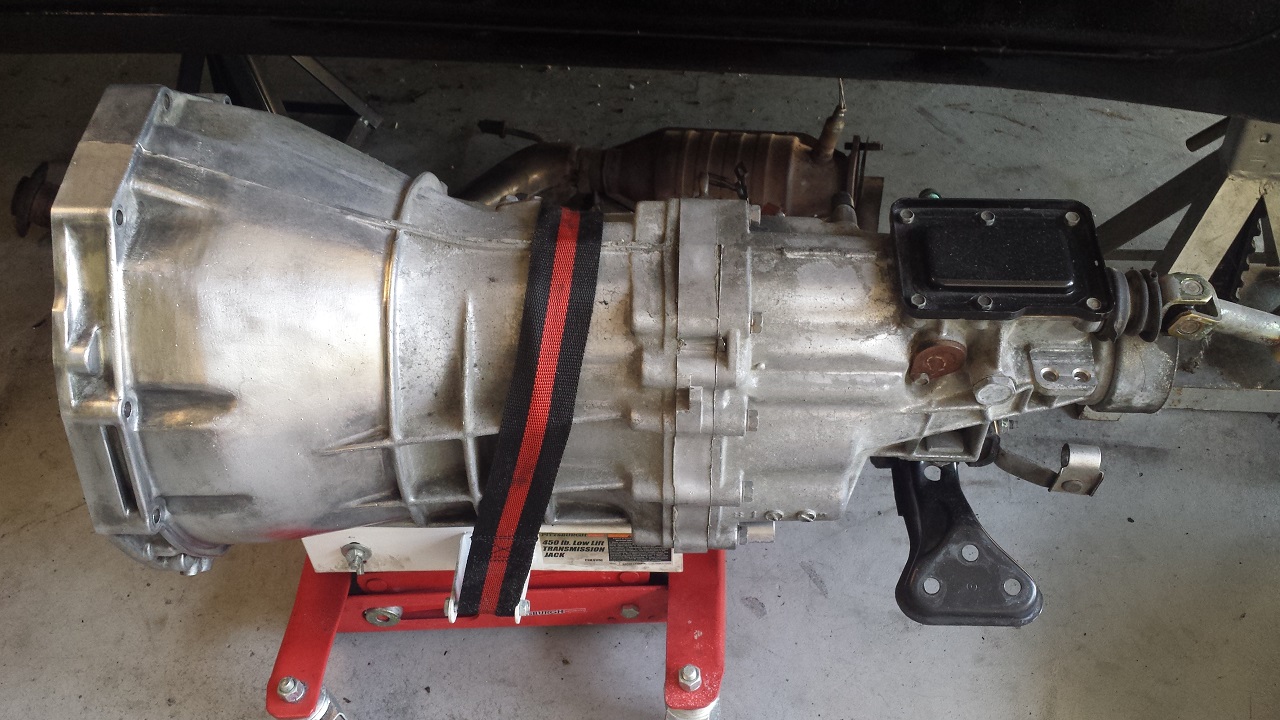
This is the transmission after an initial cleaning. I may clean it up a bit more.
I then spent many, many hours in the engine bay, degreasing and cleaning it all. I replaced old rubber lines with silicone ones.
I completely rebuilt all of the wiring harnesses with new loom and tape. They were all so brittle, cracked and missing loom/tape in various places.
I unwrapped every section of the wiring harness, one at a time, inspected all wires and then rewrapped them.
They all look like new now. I also inspected and cleaned every connector in the engine bay. Some connectors needed to be replaced.
I also rebuilt the battery wiring harness.
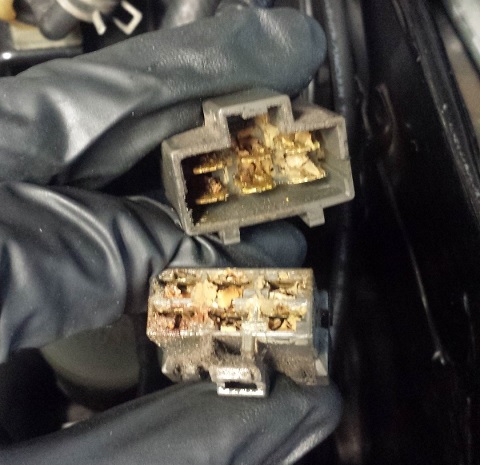
Here is an example of how nasty some connectors were:
Here's what the alternator to transmission harness looks like now:

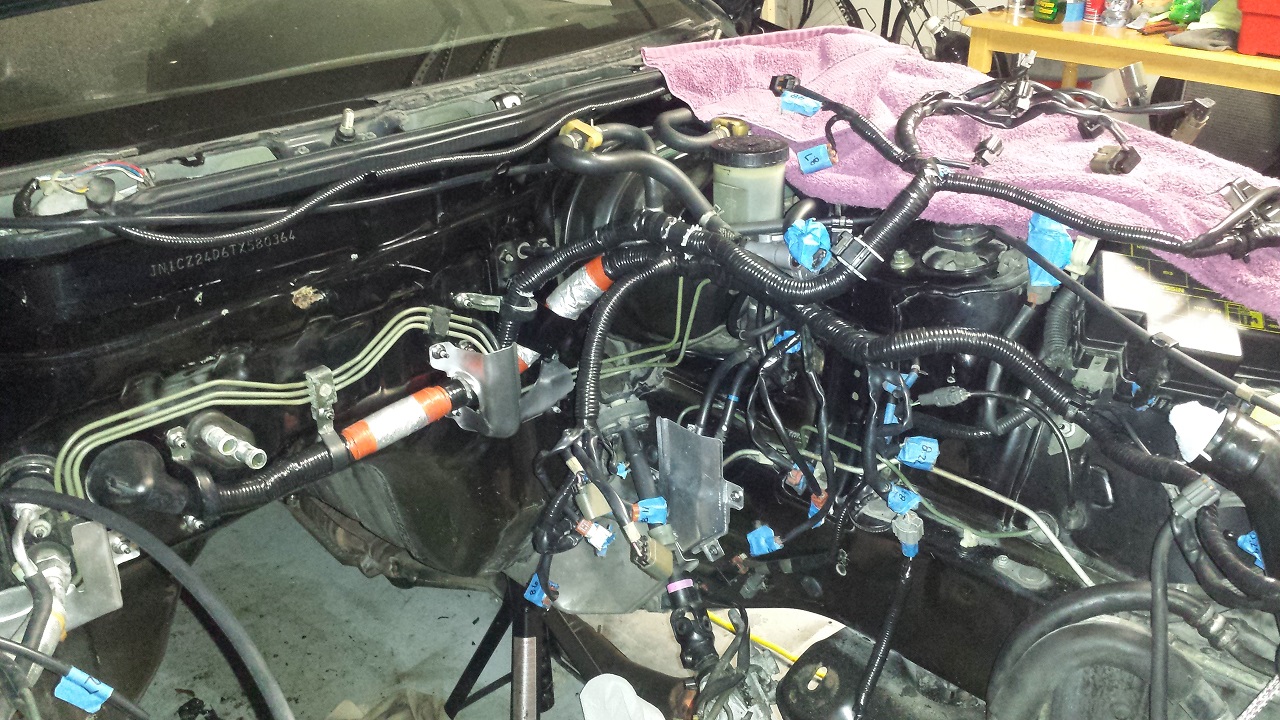
Here's a shot of the engine bay showing the main harness redone:
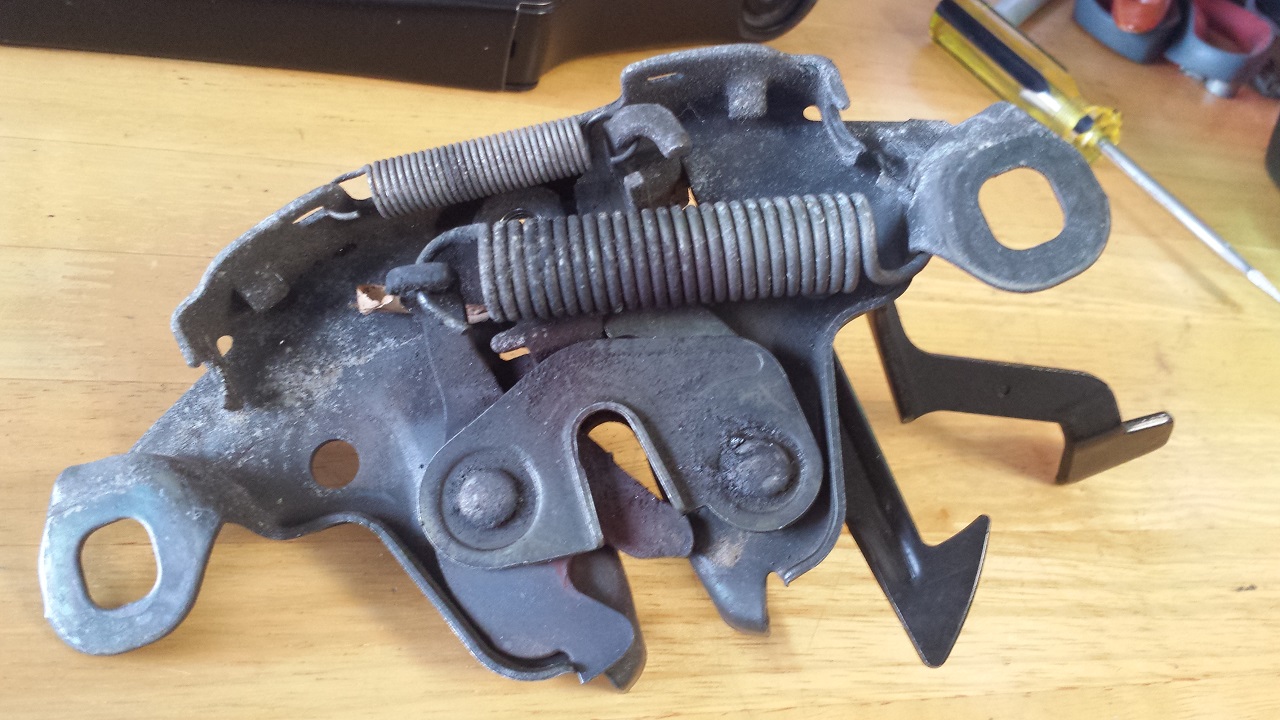
While spending so much time in the engine bay, I kept looking at the nasty hood latch and finally removed it to clean it up.
This is the hood latch before being cleaned up:
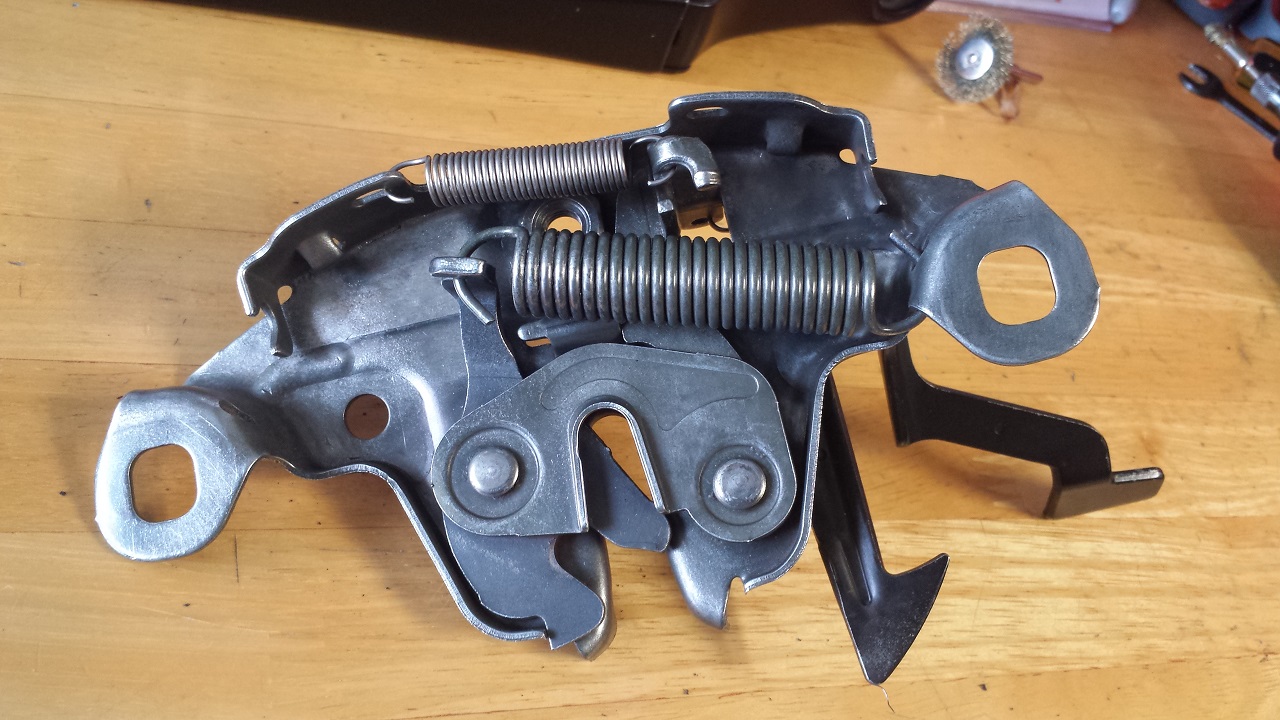
This is the hood latch after being cleaned up:
Next up were some clutch system improvements. I replaced the factory clutch lines and secondary bleed point with a single stainless
steel braided clutch line that goes directly from the master to the slave clutch cylinder.
I also purchased a silicone clutch booster hose (to replace the original rubber one) and a new slave cylinder with a speed bleeder for easy, one-person bleeding.
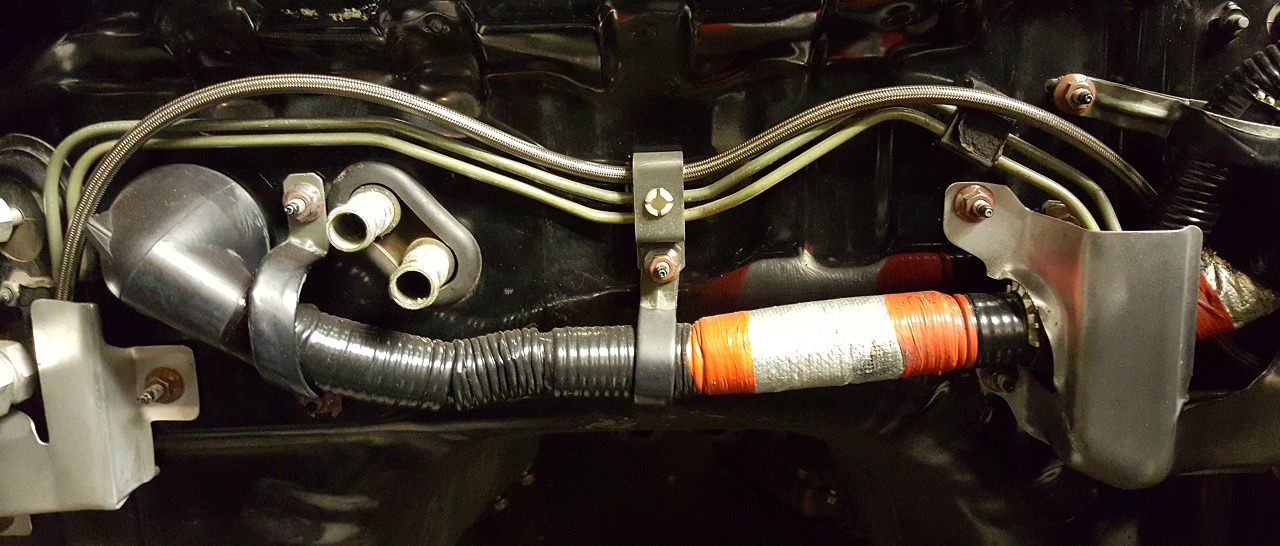
Here is a picture that shows the new stainless steel clutch line following other factory hard lines.
I couldn't fully follow them for fear of not having enough length when it comes time to installing the clutch slave cylinder,
and I wanted to avoid sharp angles with the new line.
I spent quite a bit of time refreshing the brake system next.
I replaced the hard, rubber brake lines with stainless steel braided lines, which won't degrade or flex under pressure like the rubber hoses.
I installed a master brake cylinder brace which prevents the master cylinder from moving under heavy braking.
I installed new silicone brake booster hoses. I bought new rotors with painted non-brake surfaces to prevent corrosion.
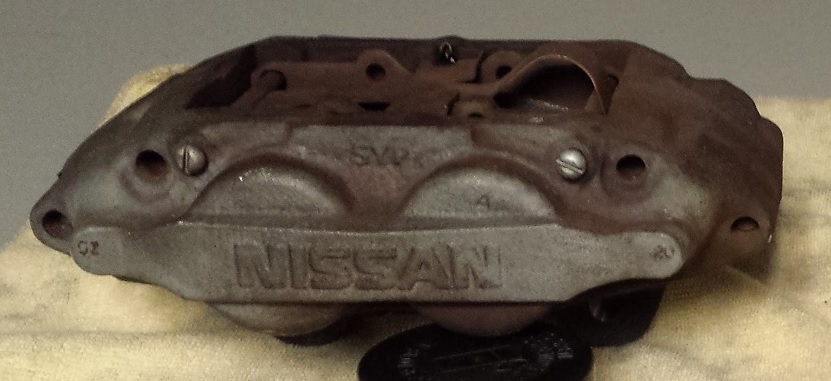
I also completely rebuilt and painted the brake calipers and installed speed bleeders in them.
This is what the brake calipers looked like before being rebuilt:
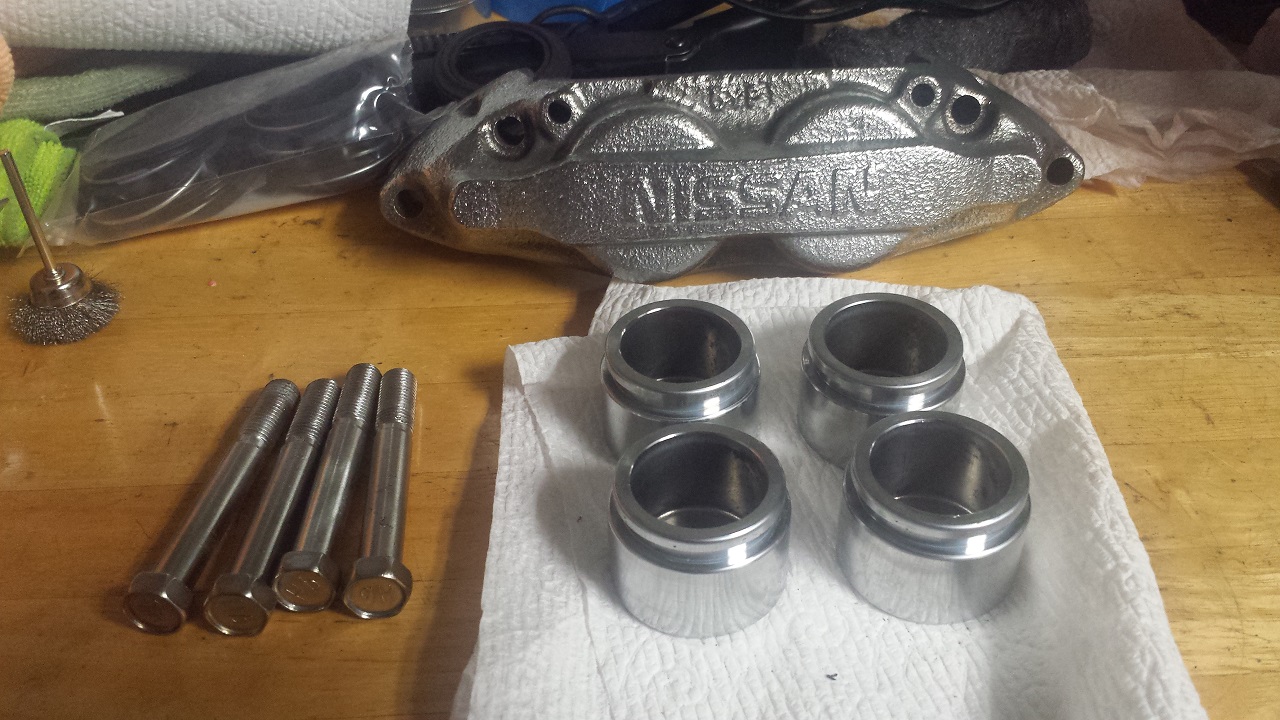
The calipers were completely disassembled and cleaned:
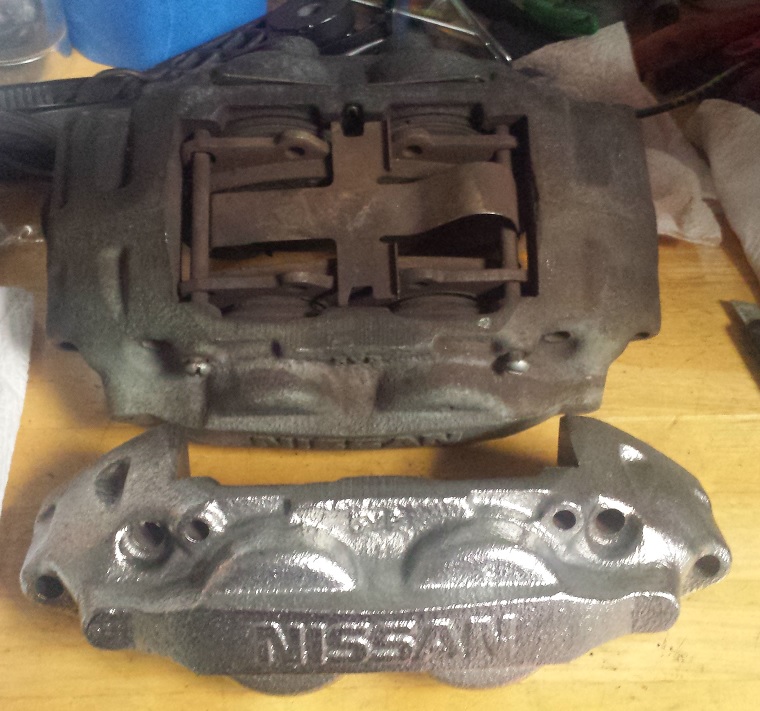
Here is a comparison of before and after cleaning the calipers:
This is how the front brakes look now after a full rebuild and painting with new rotors:

This is how the rear brakes look now after a full rebuild and painting with new rotors:

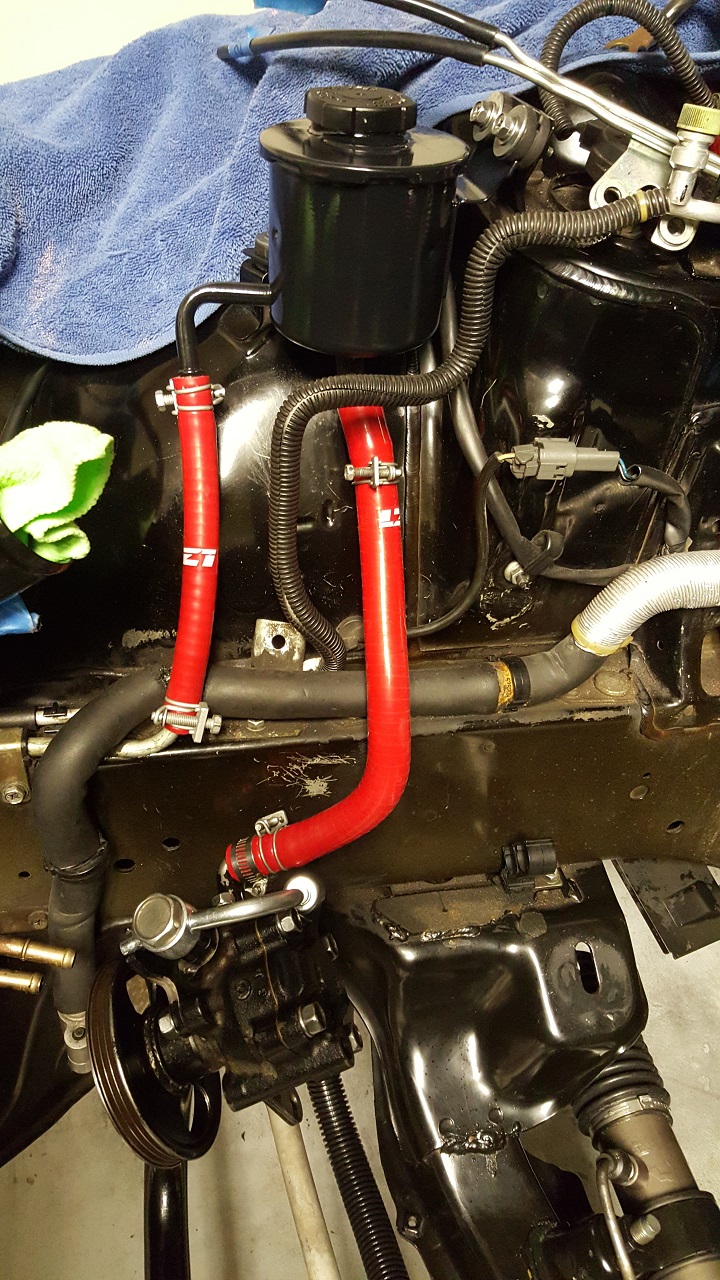
The last major task I did before beginning the engine rebuild was to completely refresh the power steering system.
I bought all new silicone hoses to replace the original rubber hoses. I also bought a new high pressure hose.
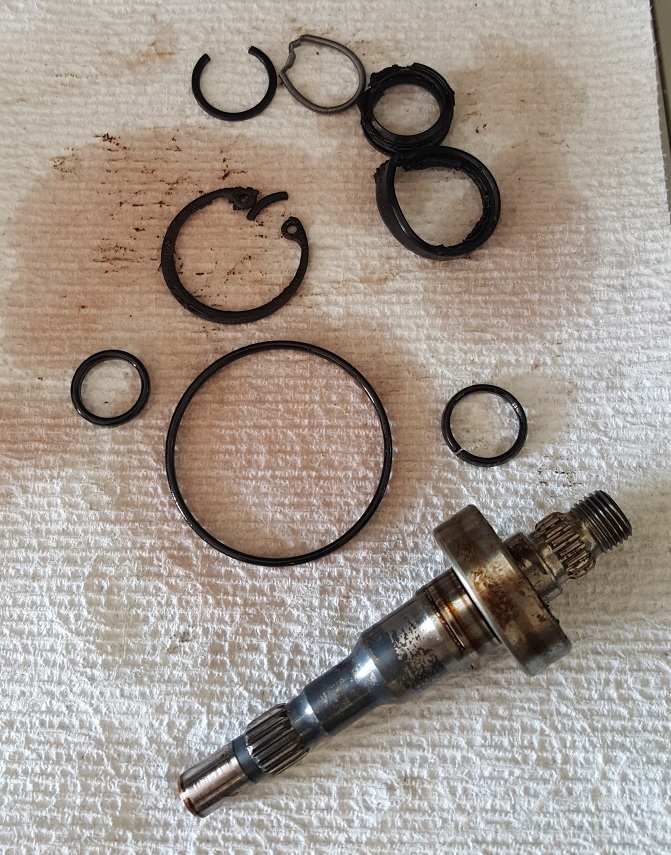
I took apart, cleaned and rebuilt the power steering pump. These are the internal parts of the power steering pump that were replaced. The rubber gaskets were as hard as plastic and broke with ease.
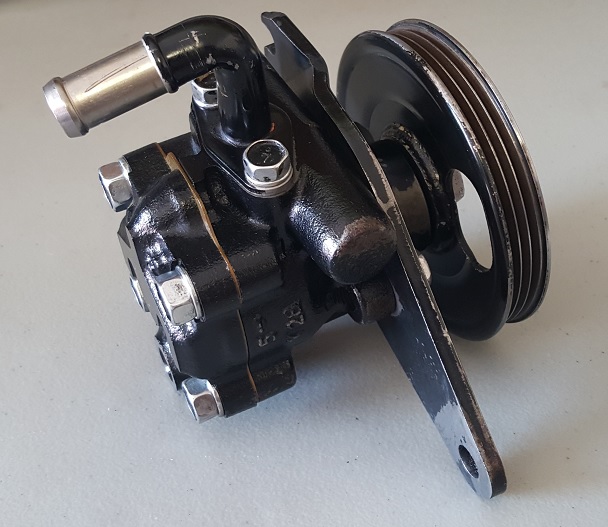
This is the rebuilt power steering pump:
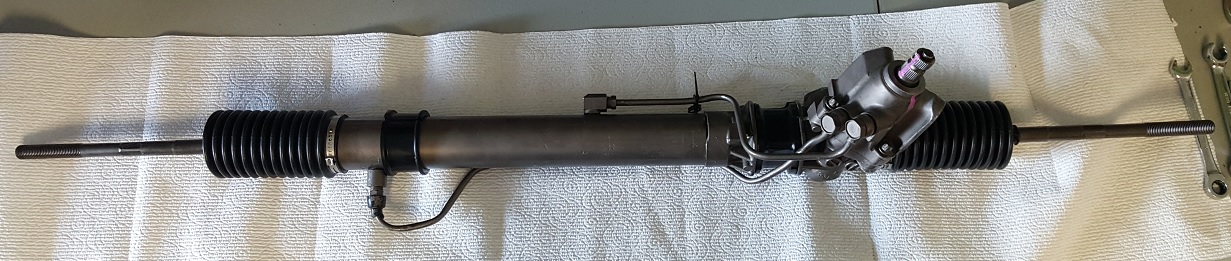
I was going to attempt to rebuild the power steering rack myself, but after discussing this with several people, I decided to just buy a professionally rebuilt rack instead.
Home rebuilt racks have a tendency to leak, and the thought of dealing with a leaking steering rack after the engine is back in the car is not appealing at all.
$215 for a professionally rebuilt rack with a warranty seems like a good deal.
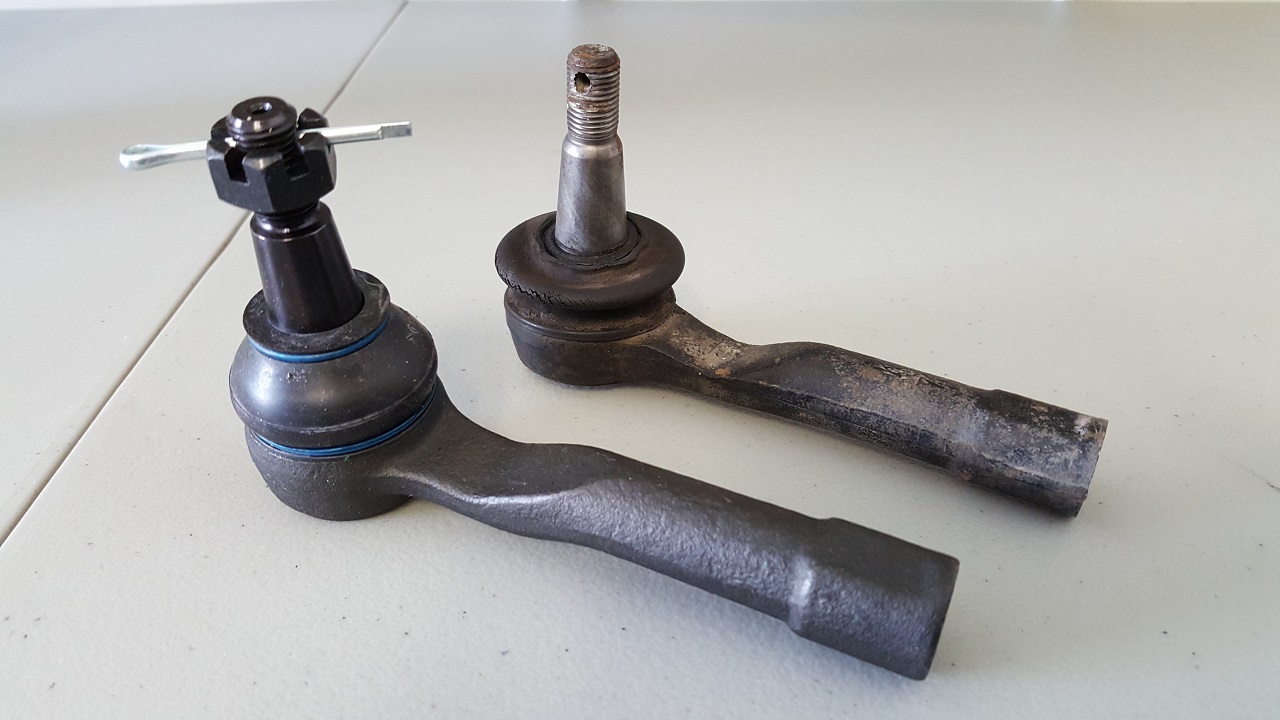
I installed new tie rod ends, too.
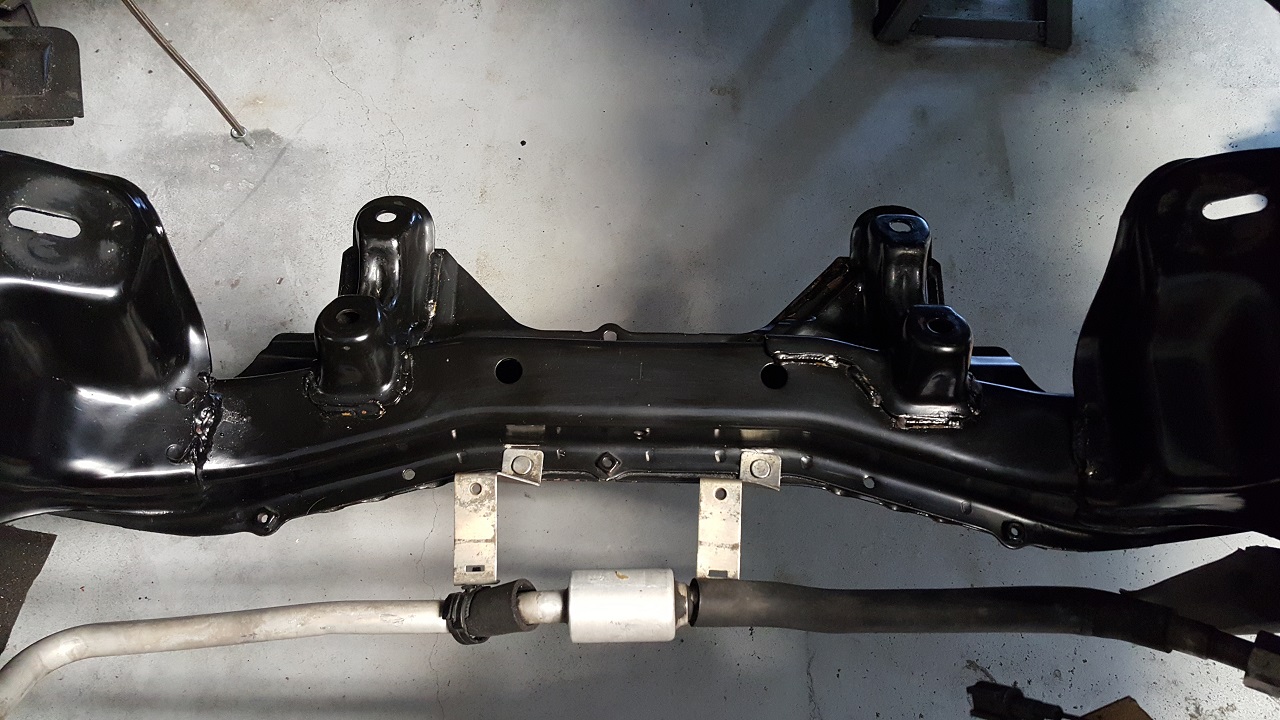
After I removed the steering rack and all power steering hoses, I had to do a little extra cleaning.
Here's the new steering rack:
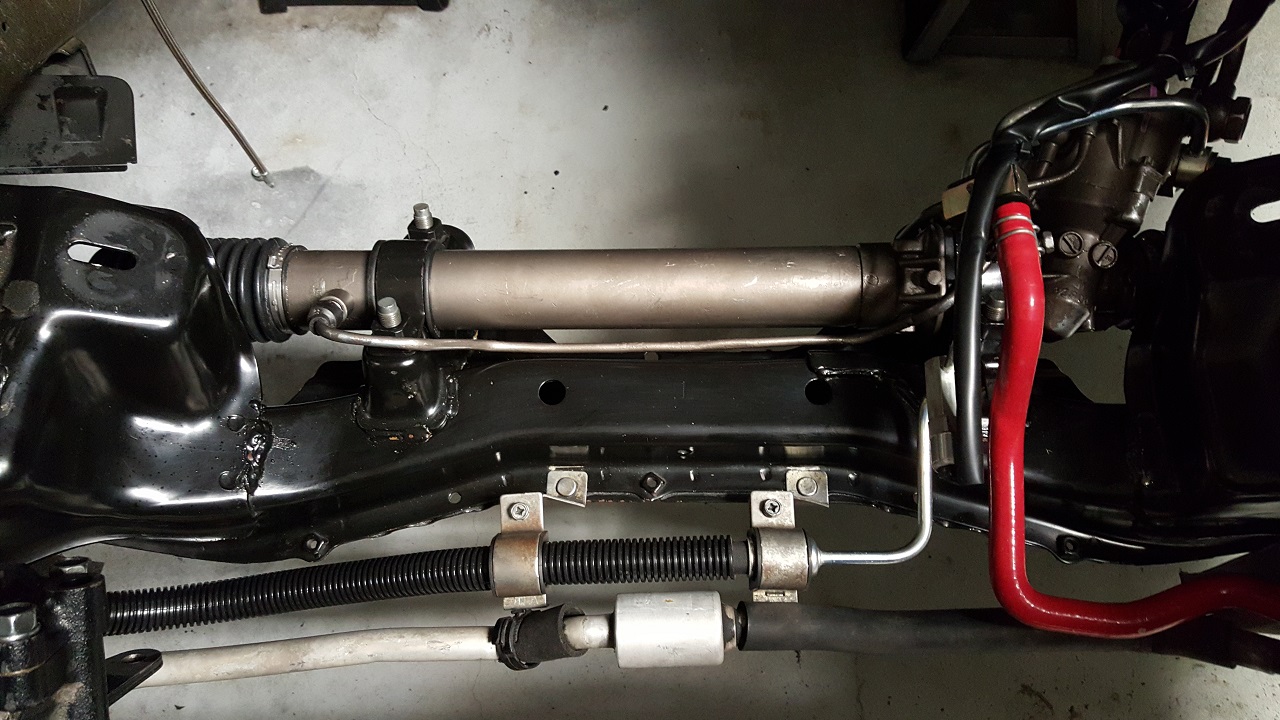
Here's the new steering rack in place with all new power steering hoses and a new pressure switch:
Here's the freshly painted power steering reservoir and new hoses:
This shows a good comparison of the new and old tie rod ends:
The entire time I've been working on the car, it has been uncovered in the garage with the windows rolled down.
I realized that it was beyond dirty, covered with dust, pollen, paint dust, etc, inside and out,
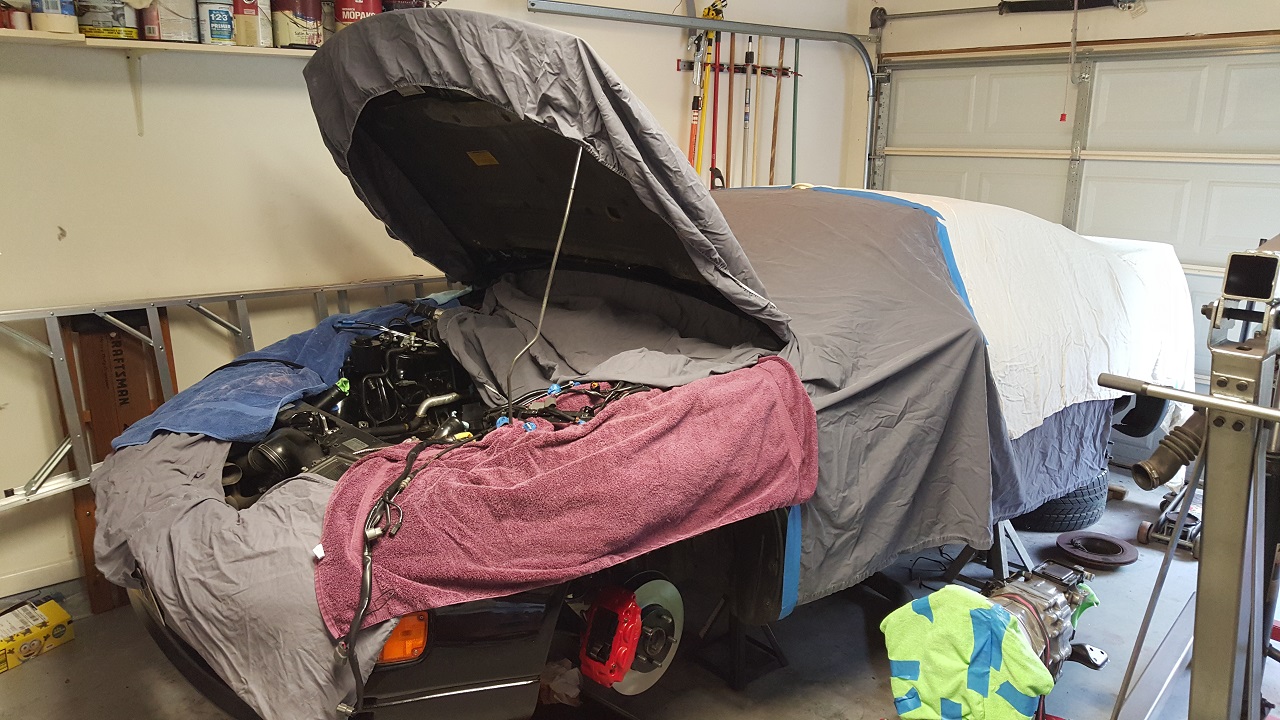
so I spent a couple hours and did a very thorough interior cleaning and then taped plastic over the window openings to close it up.
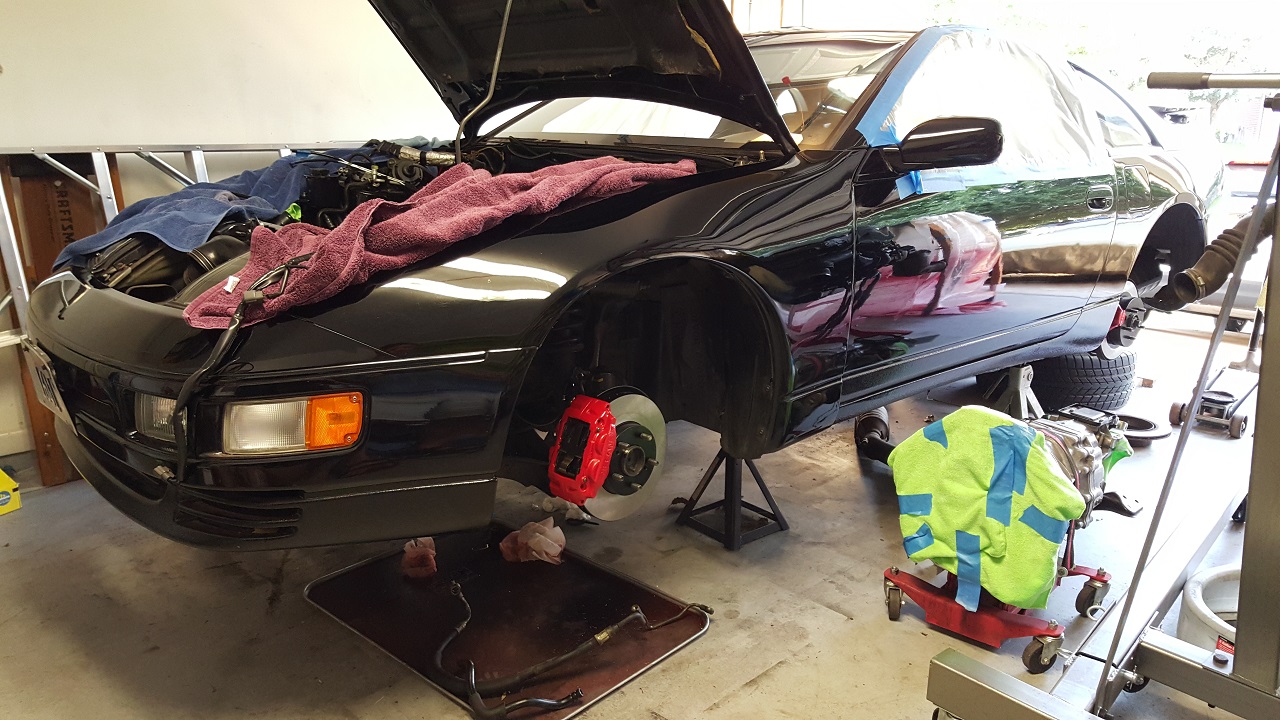
I also carefully cleaned the exterior with quick detailer and soft rags.
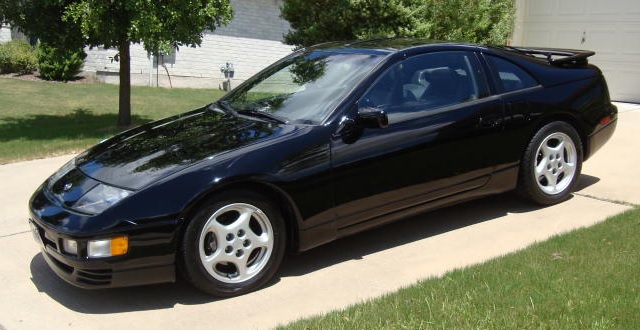
This is the car after a good cleaning:
This is the car now covered for the remainder of the project:
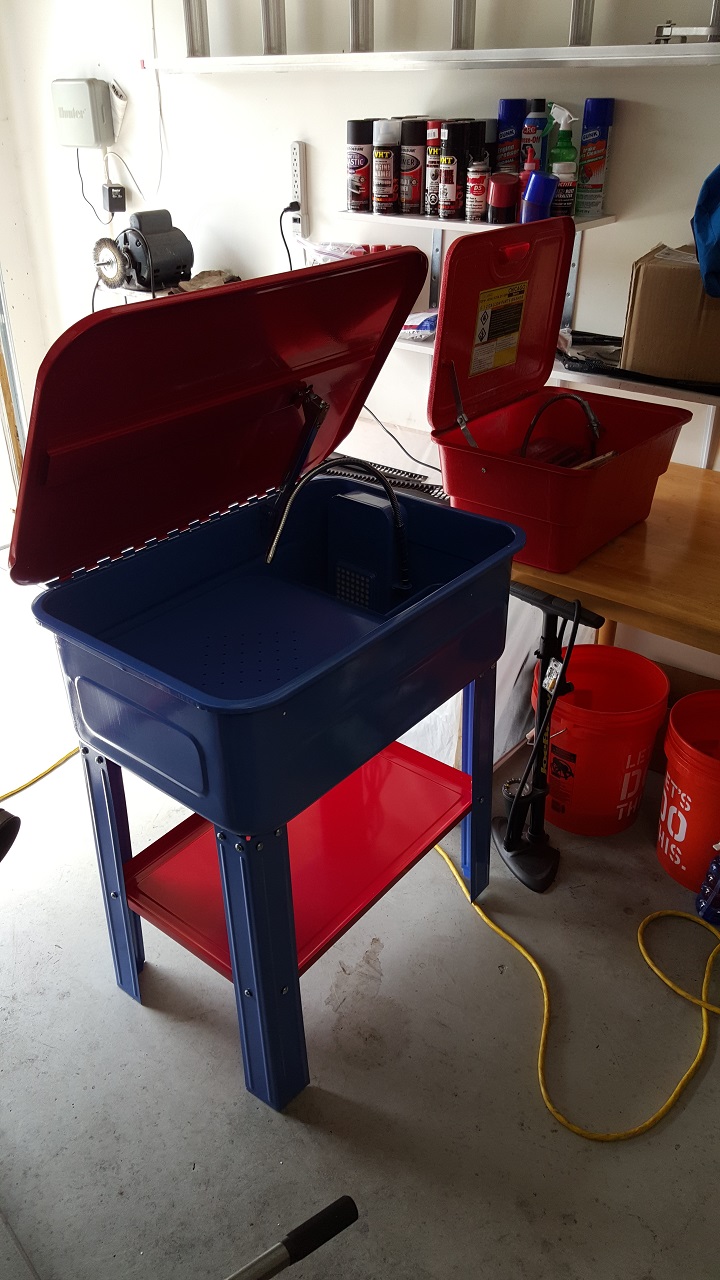
I finally got a big boy parts washer. My little 8 gallon one saw many hours of use, but the motor was starting to have issues, and of course it's out of warranty.
I picked up a metal 20 gallon parts washer to replace it.
I also just cleaned up all my workspace.

Continue to engine disassembly...